Getting Started with Hugo: A Step-by-Step Guide
Hugo is a fast, flexible, and open-source static site generator that allows you to build websites with ease. Originally popular for blogging, Hugo’s versatility makes it ideal for creating a wide range of sites — from personal portfolios and academic project showcases to documentation hubs and even e-commerce sites. Whether you’re building a professional portfolio, a research site to share your academic work, or a personal blog, Hugo has you covered.
This guide will take you through the entire process of building a website using Hugo, from installation to deployment, with practical tips to make your site look professional and unique.
Install Hugo
macOS (using Homebrew)
If you’re on macOS and have Homebrew installed, this is the easiest way to install Hugo:
brew install hugo
Windows (using Chocolatey)
For Windows, use the Chocolatey package manager:
choco install hugo -confirm
Linux (Debian/Ubuntu)
If you’re on Linux, use the following commands to install Hugo:
sudo apt-get update
sudo apt-get install hugo
Alternatively, you can download a precompiled binary for your platform from the Hugo releases page and extract it manually.
Verifying Installation
Once installed, verify the installation by running:
hugo version
This will show the version of Hugo you have installed, confirming that it is ready to go.
Create a New Hugo Site
After Hugo is installed, you can create a new site with a simple command. Open a terminal (or command prompt on Windows) and run the following:
hugo new site <your-site-name>
This creates a new directory (<your-site-name>) with the basic structure of a Hugo site. You’ll see directories like content/, layouts/, and themes/.
Choose and Install a Theme
Hugo uses themes to determine how your website looks. To browse available themes, head to the Hugo Themes website. There are hundreds of free and open-source themes to choose from.
Once you’ve chosen a theme, you can add it to your site by following these steps:
Using Git Submodule (Recommended)
Inside your Hugo site directory, initialize a Git repository (if it isn’t already initialized):
git initAdd the theme as a submodule:
git submodule add <theme-repository-url> themes/<theme-name>
git submodule update --init --recursive
Configure your site to use the new theme. Open
config.toml(orconfig.yamlorconfig.json, depending on your configuration format) and set the theme:theme = "<theme-name>"
Alternatively, you can download the theme manually, but using Git submodules is more efficient for managing updates.
Understanding Hugo’s Directory Structure
Hugo uses a specific directory structure to organize your website’s content, assets, and configuration. Here’s a breakdown of the most important directories and files:
content/: Where your content lives. This is where you will add markdown files for posts, pages, and other content types.themes/: Contains the themes you use in your site. Each theme will have alayouts/directory, which contains the theme’s templates.static/: This directory holds static assets like images, CSS, JavaScript files, etc. Files here are copied directly to the root of thepublic/directory when Hugo generates the site.layouts/: This folder is used for your custom templates. You can override theme templates or create your own templates for specific types of content.config.toml(orconfig.yaml,config.json): This is your site’s configuration file, where you set global parameters like the site’s title, base URL, language, theme, and more.
Create and Organize Content
Now it’s time to add content to your website. You can create content types like blog posts, pages, or custom content.
Creating a New Page or Post
To create a new page or post, run the following command:
hugo new <content-type>/<page-name>.md
For example, to create a blog post:
hugo new posts/my-first-post.md
This will create a markdown file in content/posts/my-first-post.md.
Markdown Syntax for Content
In the generated .md file, you’ll see frontmatter and markdown content:
---
title: "My First Post"
date: 2025-04-02
draft: true
---

# Welcome to my blog!

This is a simple markdown file to demonstrate Hugo.
- The frontmatter (between the
---lines) contains metadata for your content. You can set fields liketitle,date,draft, and custom parameters liketagsorauthor. - The content section uses standard markdown syntax. You can write paragraphs, lists, headings, links, images, and much more.
Publishing Content
Once you’re ready to publish, you can set draft: false in the frontmatter and run hugo server to preview the site.
Start the Development Server
To see your site in action, you can run a local development server:
hugo server
By default, this will run a server on http://localhost:1313. As you modify content or templates, Hugo will automatically regenerate the site and refresh the page.
Building the Site for Production
When you’re satisfied with your site, you can build it for production. Run the following command:
hugo
This will generate the static website in the public/ directory. The public/ directory will contain all the HTML files, assets, and other content required to host your site.
Deploying the Site
Once your site is built, you can deploy it to a variety of hosting platforms. Hugo sites are static, so they can be deployed on platforms like:
- GitHub Pages: You can push the contents of the
public/directory to a GitHub repository and serve it using GitHub Pages. - Netlify: A popular static site hosting platform. Just link your GitHub repository to Netlify, and it will automatically build and deploy your site.
- Vercel: Another static site hosting platform similar to Netlify.
- Your Own Server: If you have a hosting provider or VPS, you can upload the files in the
public/directory to your web server.
Each hosting platform will have specific instructions for deploying Hugo sites, but most of them integrate easily with Git-based workflows.
Customizing Your Site
Creating Custom Layouts
To modify the look and feel of your site, you can create custom templates in the layouts/ directory. You can override default templates from the theme by placing your custom templates here.
For example, to modify the homepage layout, you can create layouts/index.html or layouts/_default/baseof.html to adjust the base layout structure.
Adding Shortcodes
Hugo supports shortcodes, which are snippets of reusable content. You can use shortcodes to easily insert dynamic elements like galleries, videos, or calls to action. Here’s an example of using a shortcode to embed a YouTube video:
Shortcodes can be defined in the layouts/shortcodes/ directory.
Additional Tips
Taxonomies: You can organize content using taxonomies like categories or tags. Add this configuration in
config.toml:[taxonomies] category = "categories" tag = "tags"Multilingual Sites: Hugo supports multilingual sites. You can define different content for different languages in the
content/folder, such ascontent/en/andcontent/es/.Hugo Modules: Hugo also supports modules, which allow you to manage external dependencies in your site, such as themes or libraries.
GitHub Actions: You can automate your Hugo build and deployment process using GitHub Actions for continuous deployment.
Conclusion
Hugo is a powerful tool for building fast, static websites. With this guide, you should now be able to create, customize, and deploy your own Hugo-powered site. Whether you’re building a blog, portfolio, or documentation site, Hugo’s flexibility and speed make it a fantastic choice for modern static websites.
Happy building!
Quick Note: The site you’re reading this from is also built using Hugo — but with a ton of tweaks to make it uniquely mine! I started with the Geeky-Hugo theme as the base and added a bunch of customizations, including:
Custom Layouts: Modified to fit my style and content structure.
Shortcodes: Added some handy ones for embedding interactive elements.
Custom CSS: To give it a personal touch and make it look just right.
LaTeX Support: For displaying complex mathematical equations seamlessly.
Extended Pages: Not just limited to blogs — I’ve got project showcases, technical documentation, and more.
It’s proof that Hugo isn’t just about simple blogs — with some effort, you can turn it into a full-fledged portfolio or academic site!
Related Posts

Sensors in Robotics: How Ultrasonic, LiDAR, and IMU Work
Sensors are to robots what eyes, ears, and skin are to humans—but with far fewer limits. While we rely on just five senses, robots can be equipped with many more, sensing distances, movement, vibrations, orientation, light intensity, and even chemical properties. These sensors form the bridge between the digital intelligence of a robot and the physical world it operates in.
Read more
Debugging a Robot In Simulation Before You Burn Wires
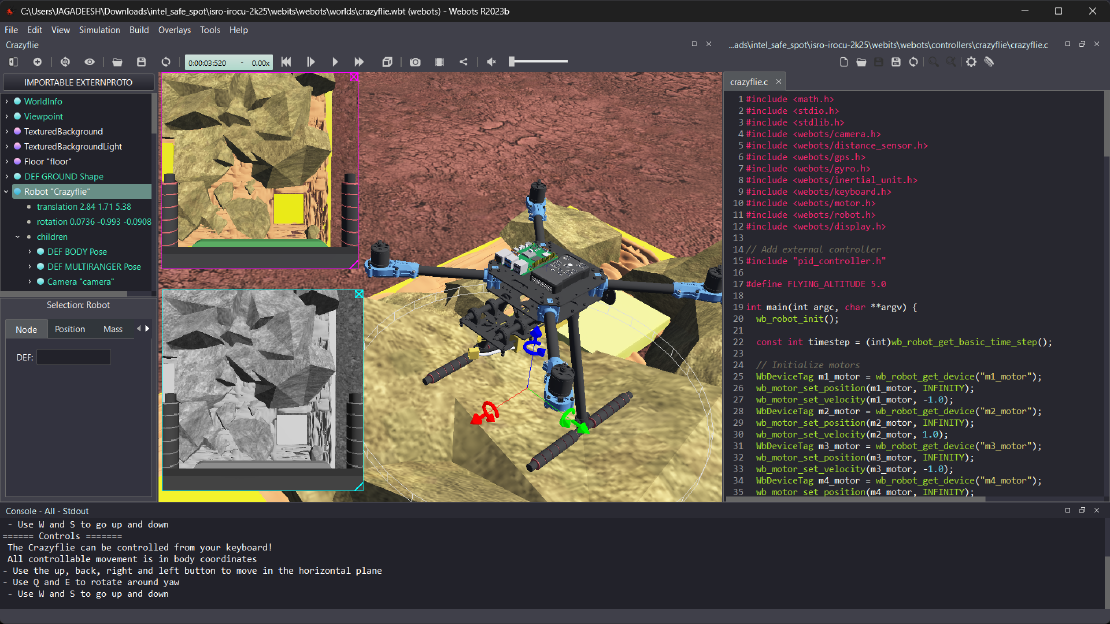
Hardware does not come with an undo button. Once you power it on, mistakes—from reversed wiring to faulty code—can result in costly damage. Motors may overheat, printed circuit boards (PCBs) can be fried, and sensors may break. These issues turn exciting projects into frustrating repair sessions. The autonomous drone shown above, designed for GNSS-denied environments in webots as part of the ISRO Robotics Challenge, is a perfect example—where careful planning, testing, and hardware safety were critical at every step
Read more
Computer Vision vs. Sensor Fusion: Who Wins the Self-Driving Car Race?
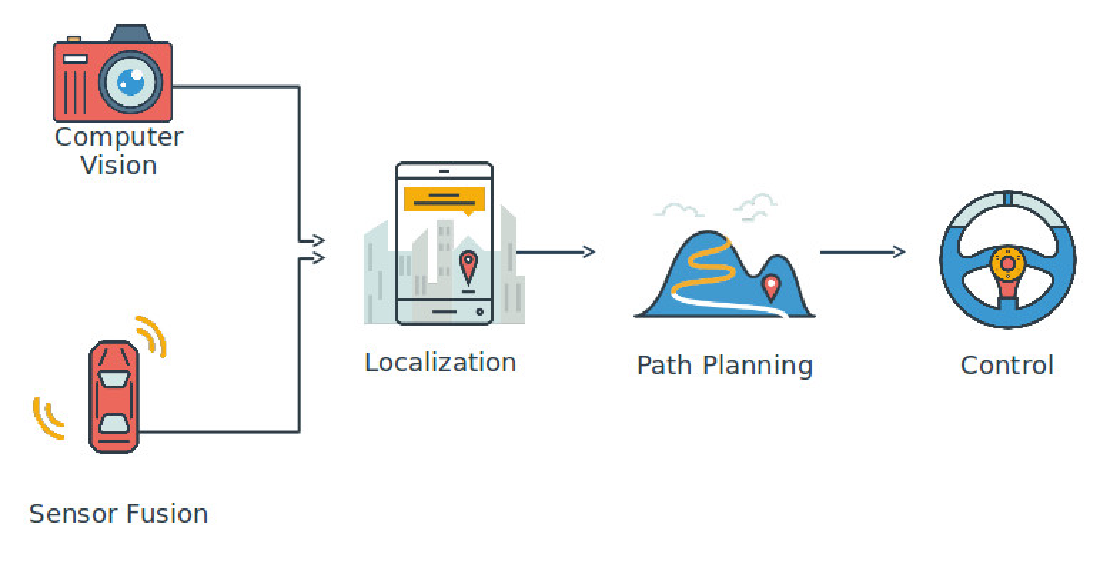
Tesla’s bold claim that “humans drive with eyes and a brain, so our cars will too” sparked one of the most polarizing debates in autonomous vehicle (AV) technology: Can vision-only systems truly compete with—or even outperform—multi-sensor fusion architectures?
Read more